The topic today is this overhead shot.

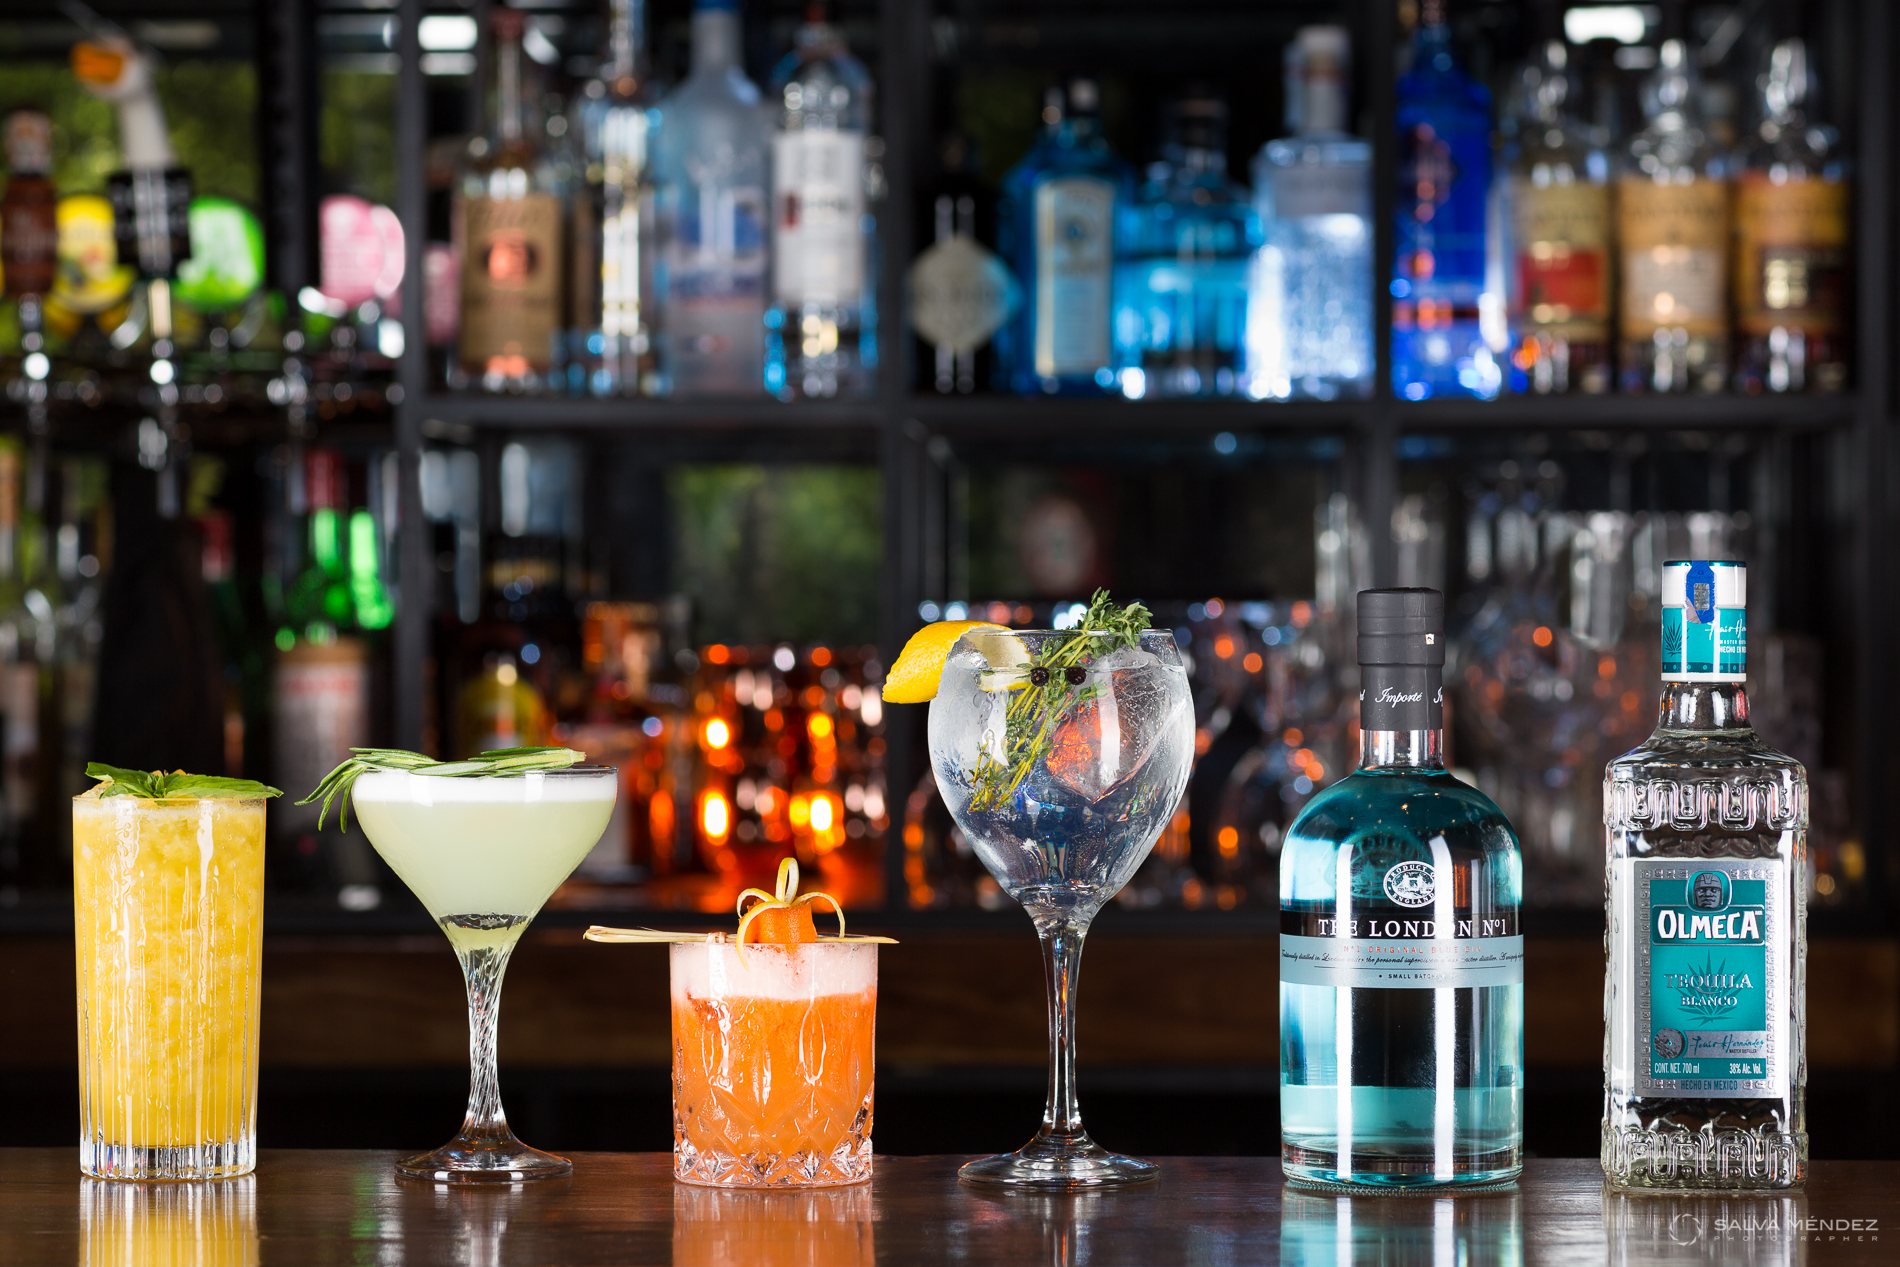
Final Picture
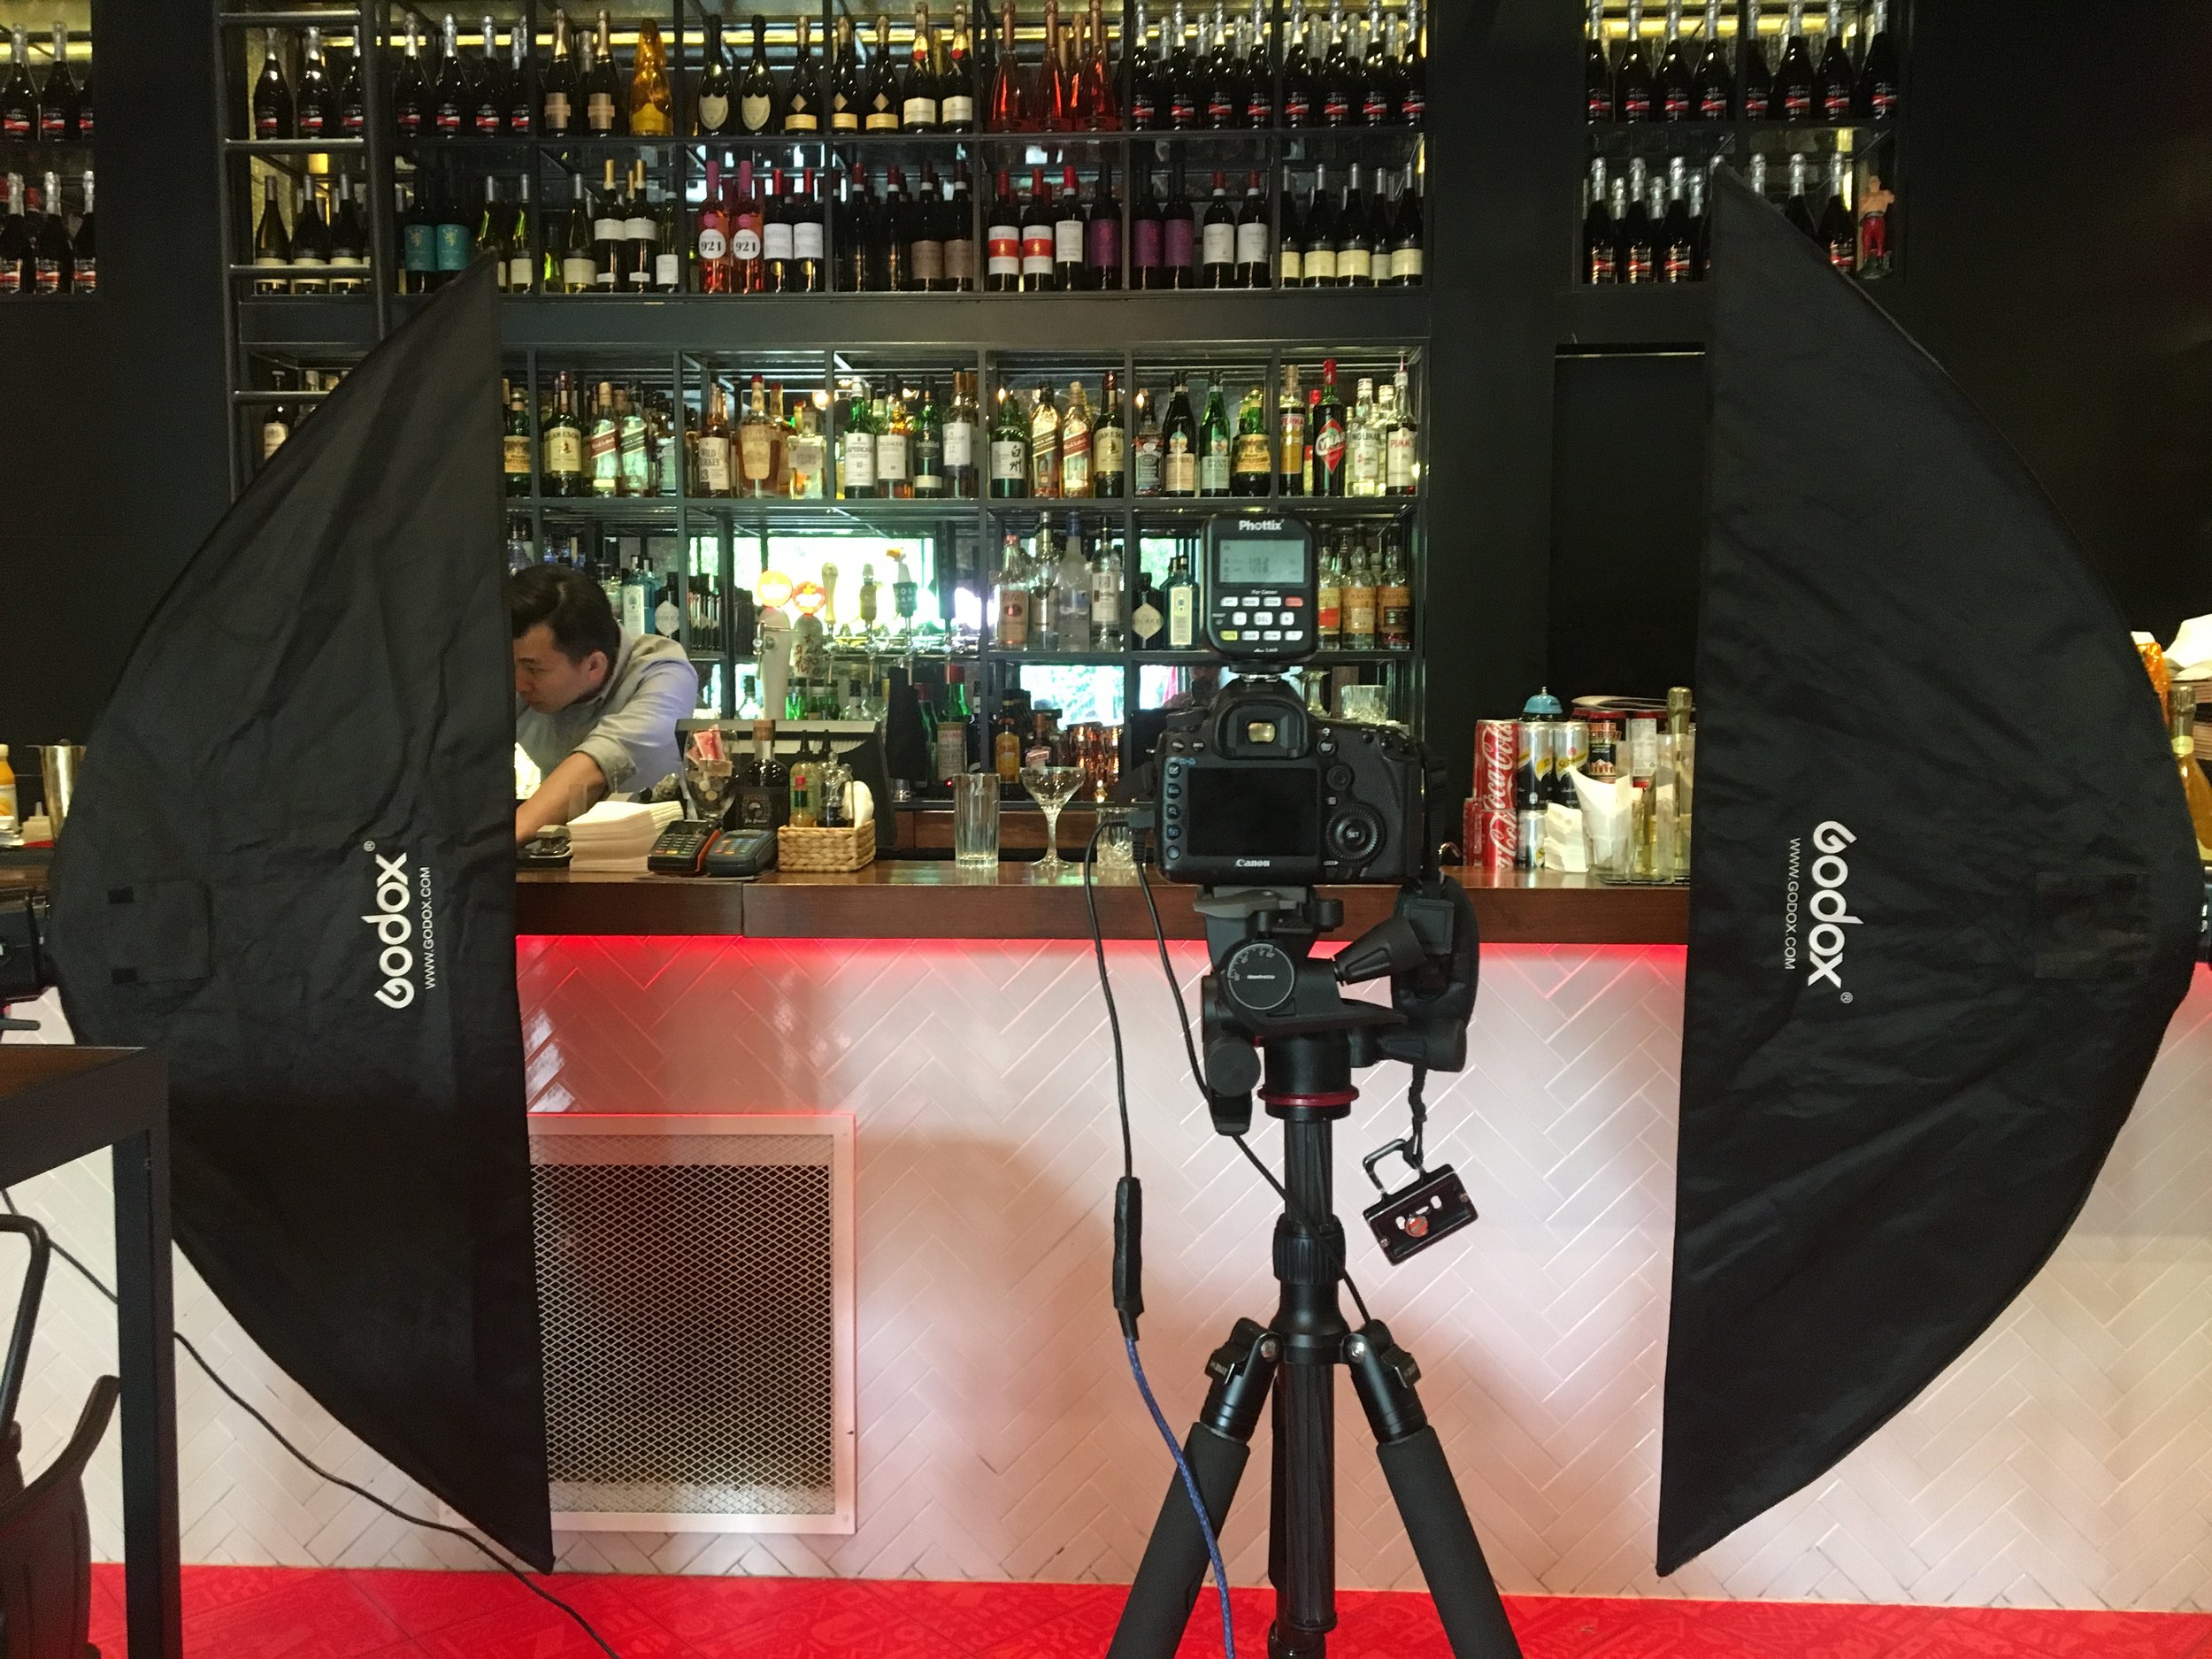
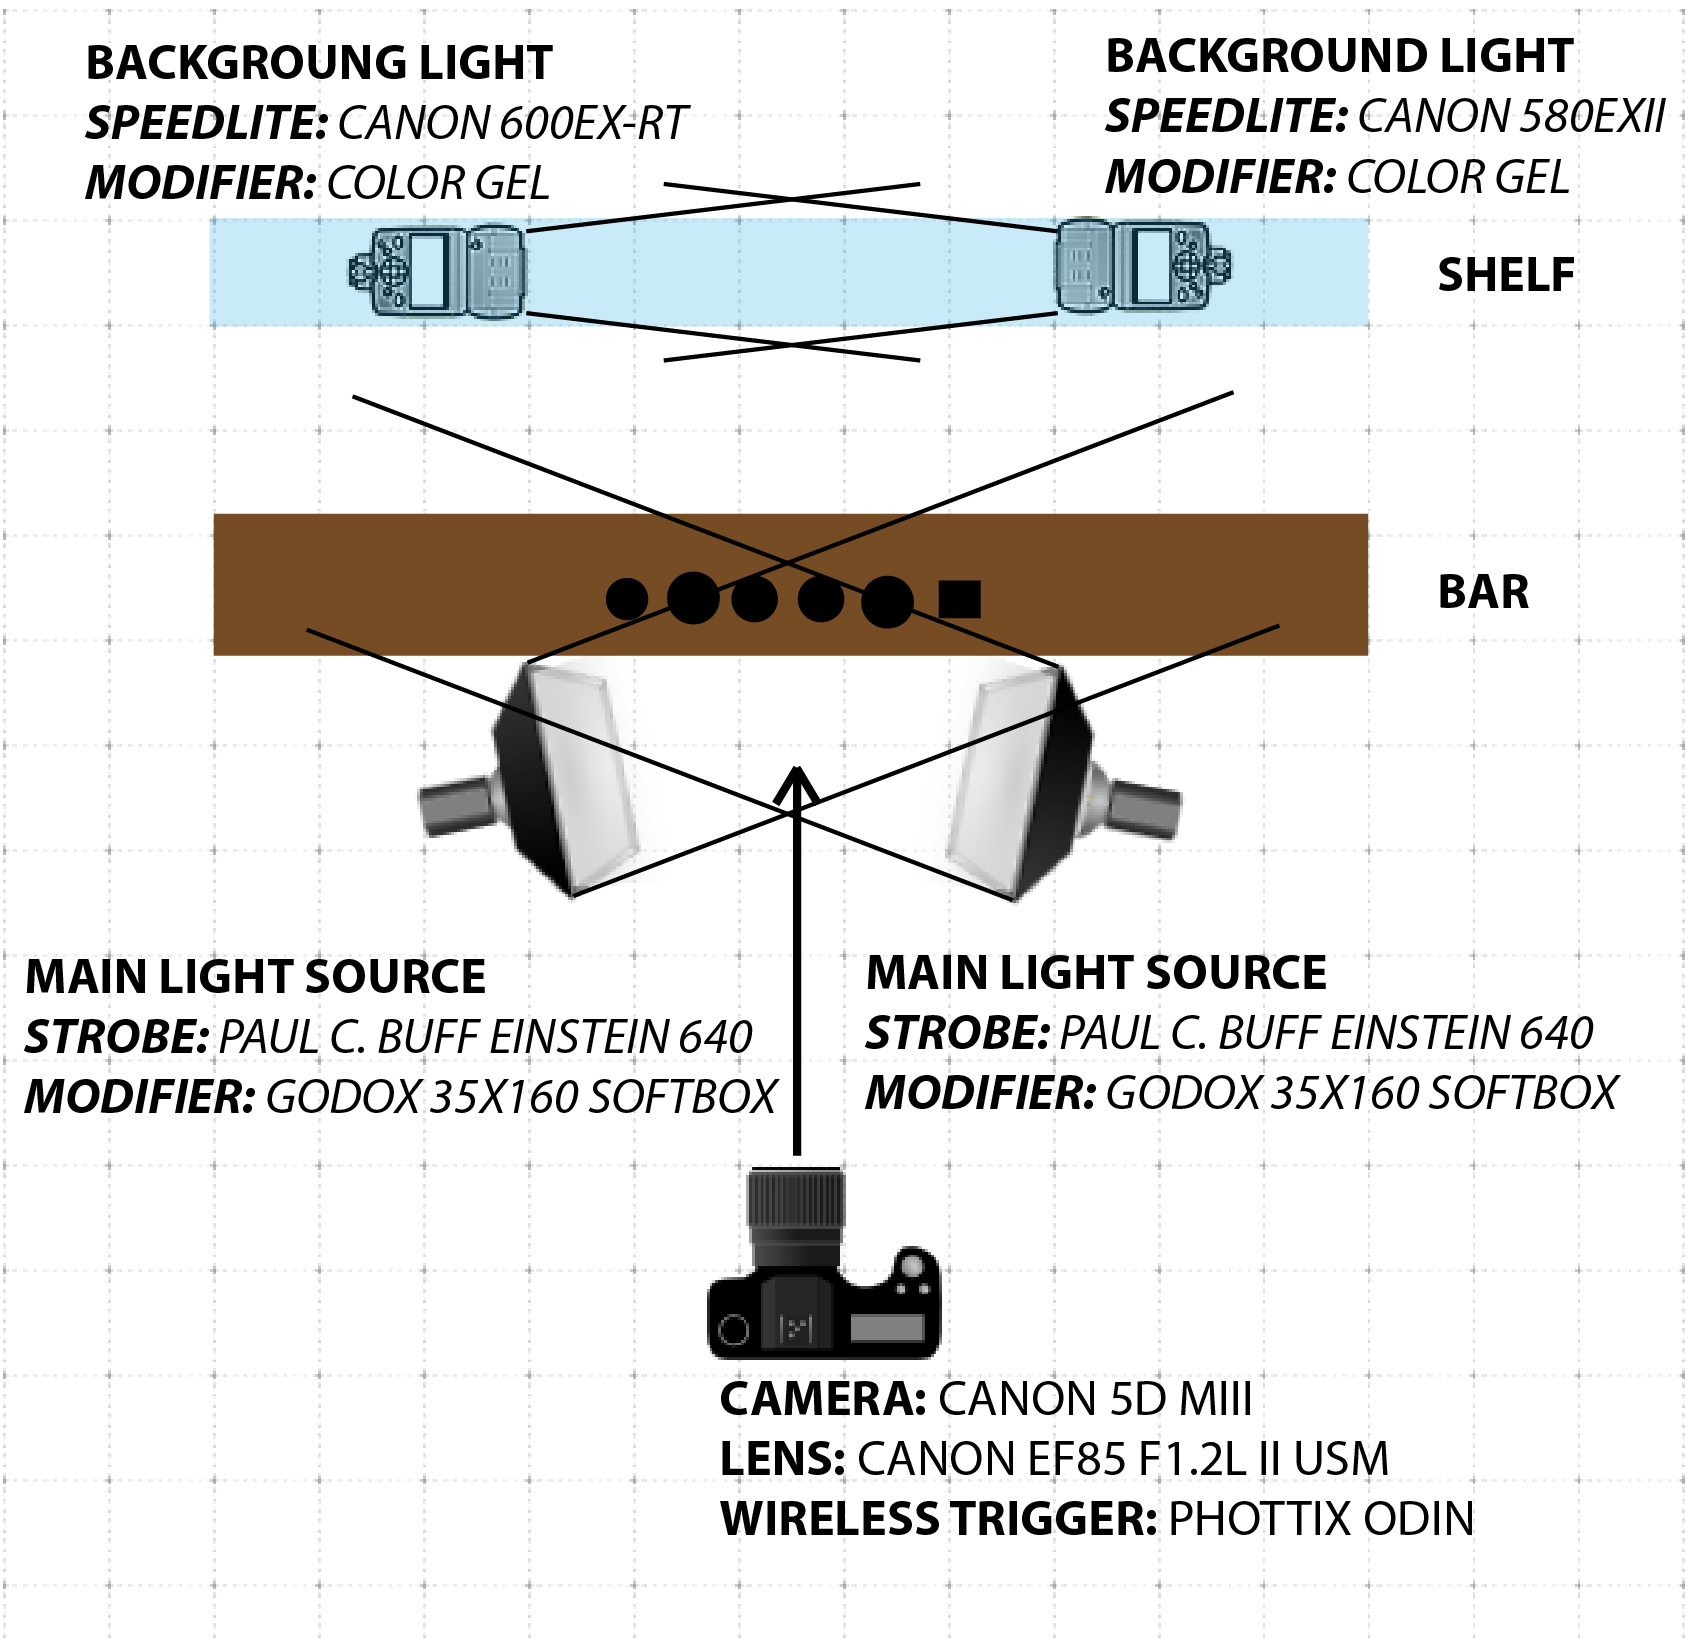
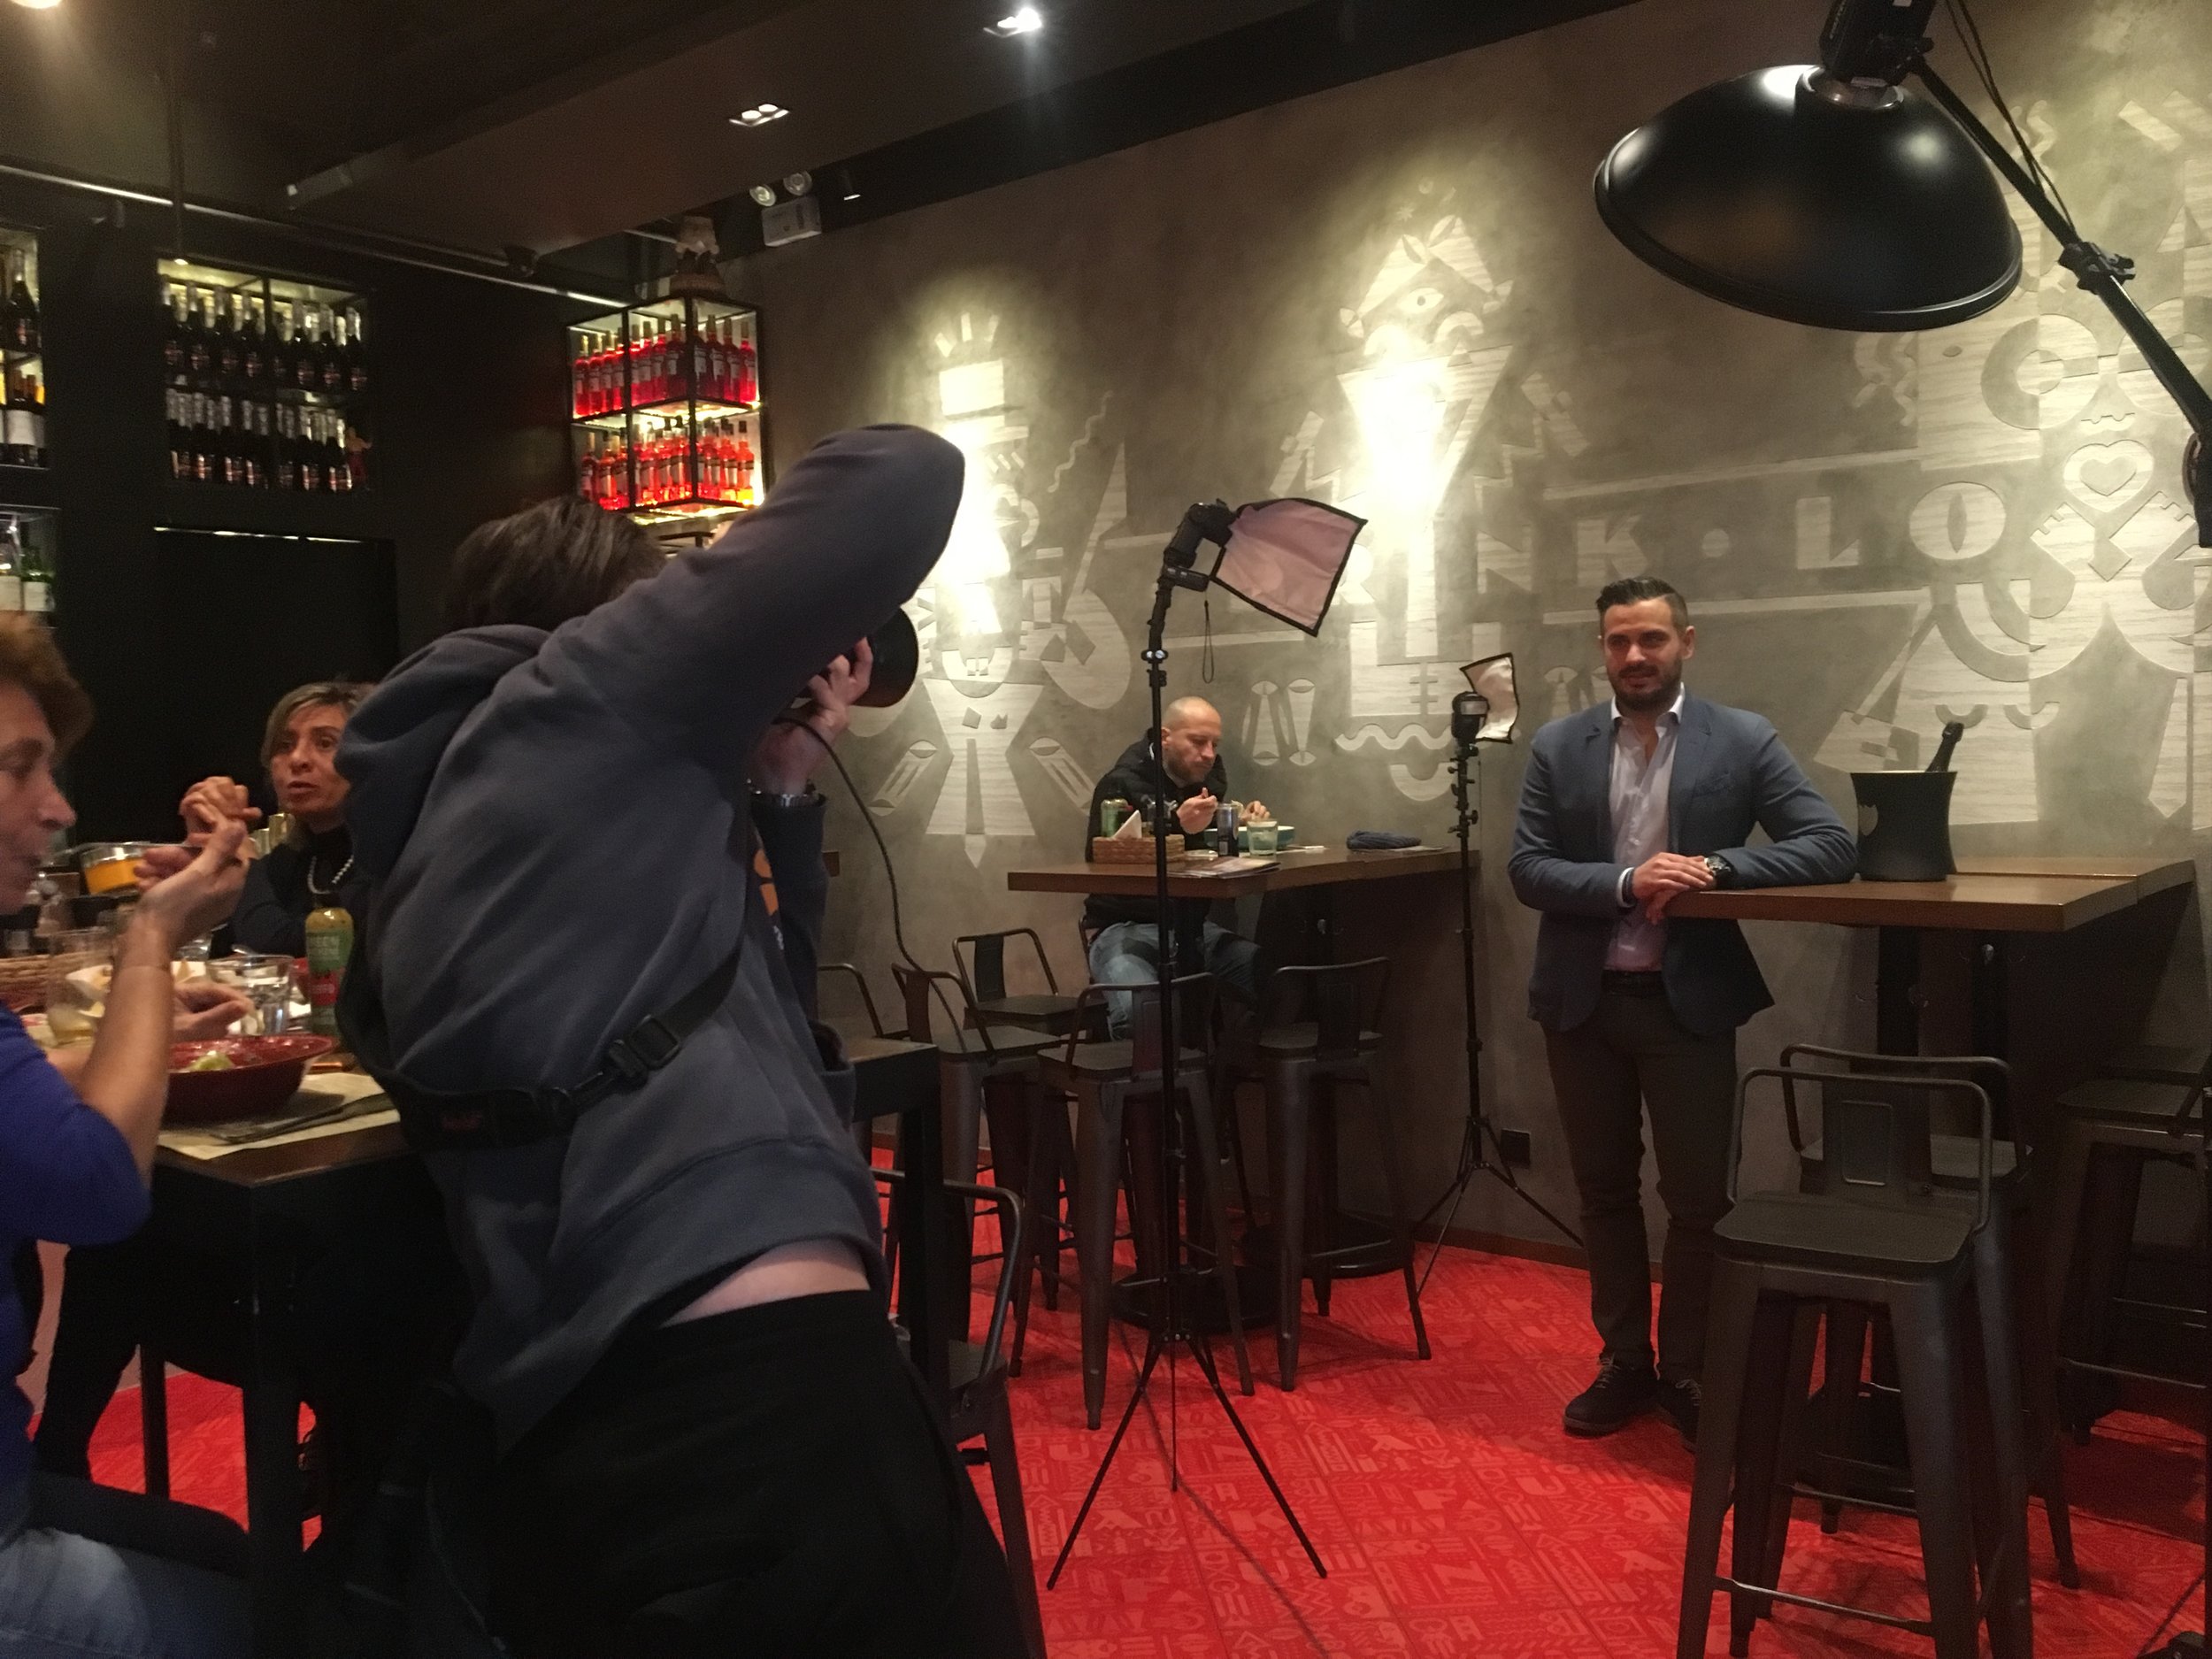
The setup is quite simple: just one light source, a strobe with a big soft box and four white boards as reflectors.
The only specific gear for this picture is the special arm attached to the tripod to set the camera right over the table.


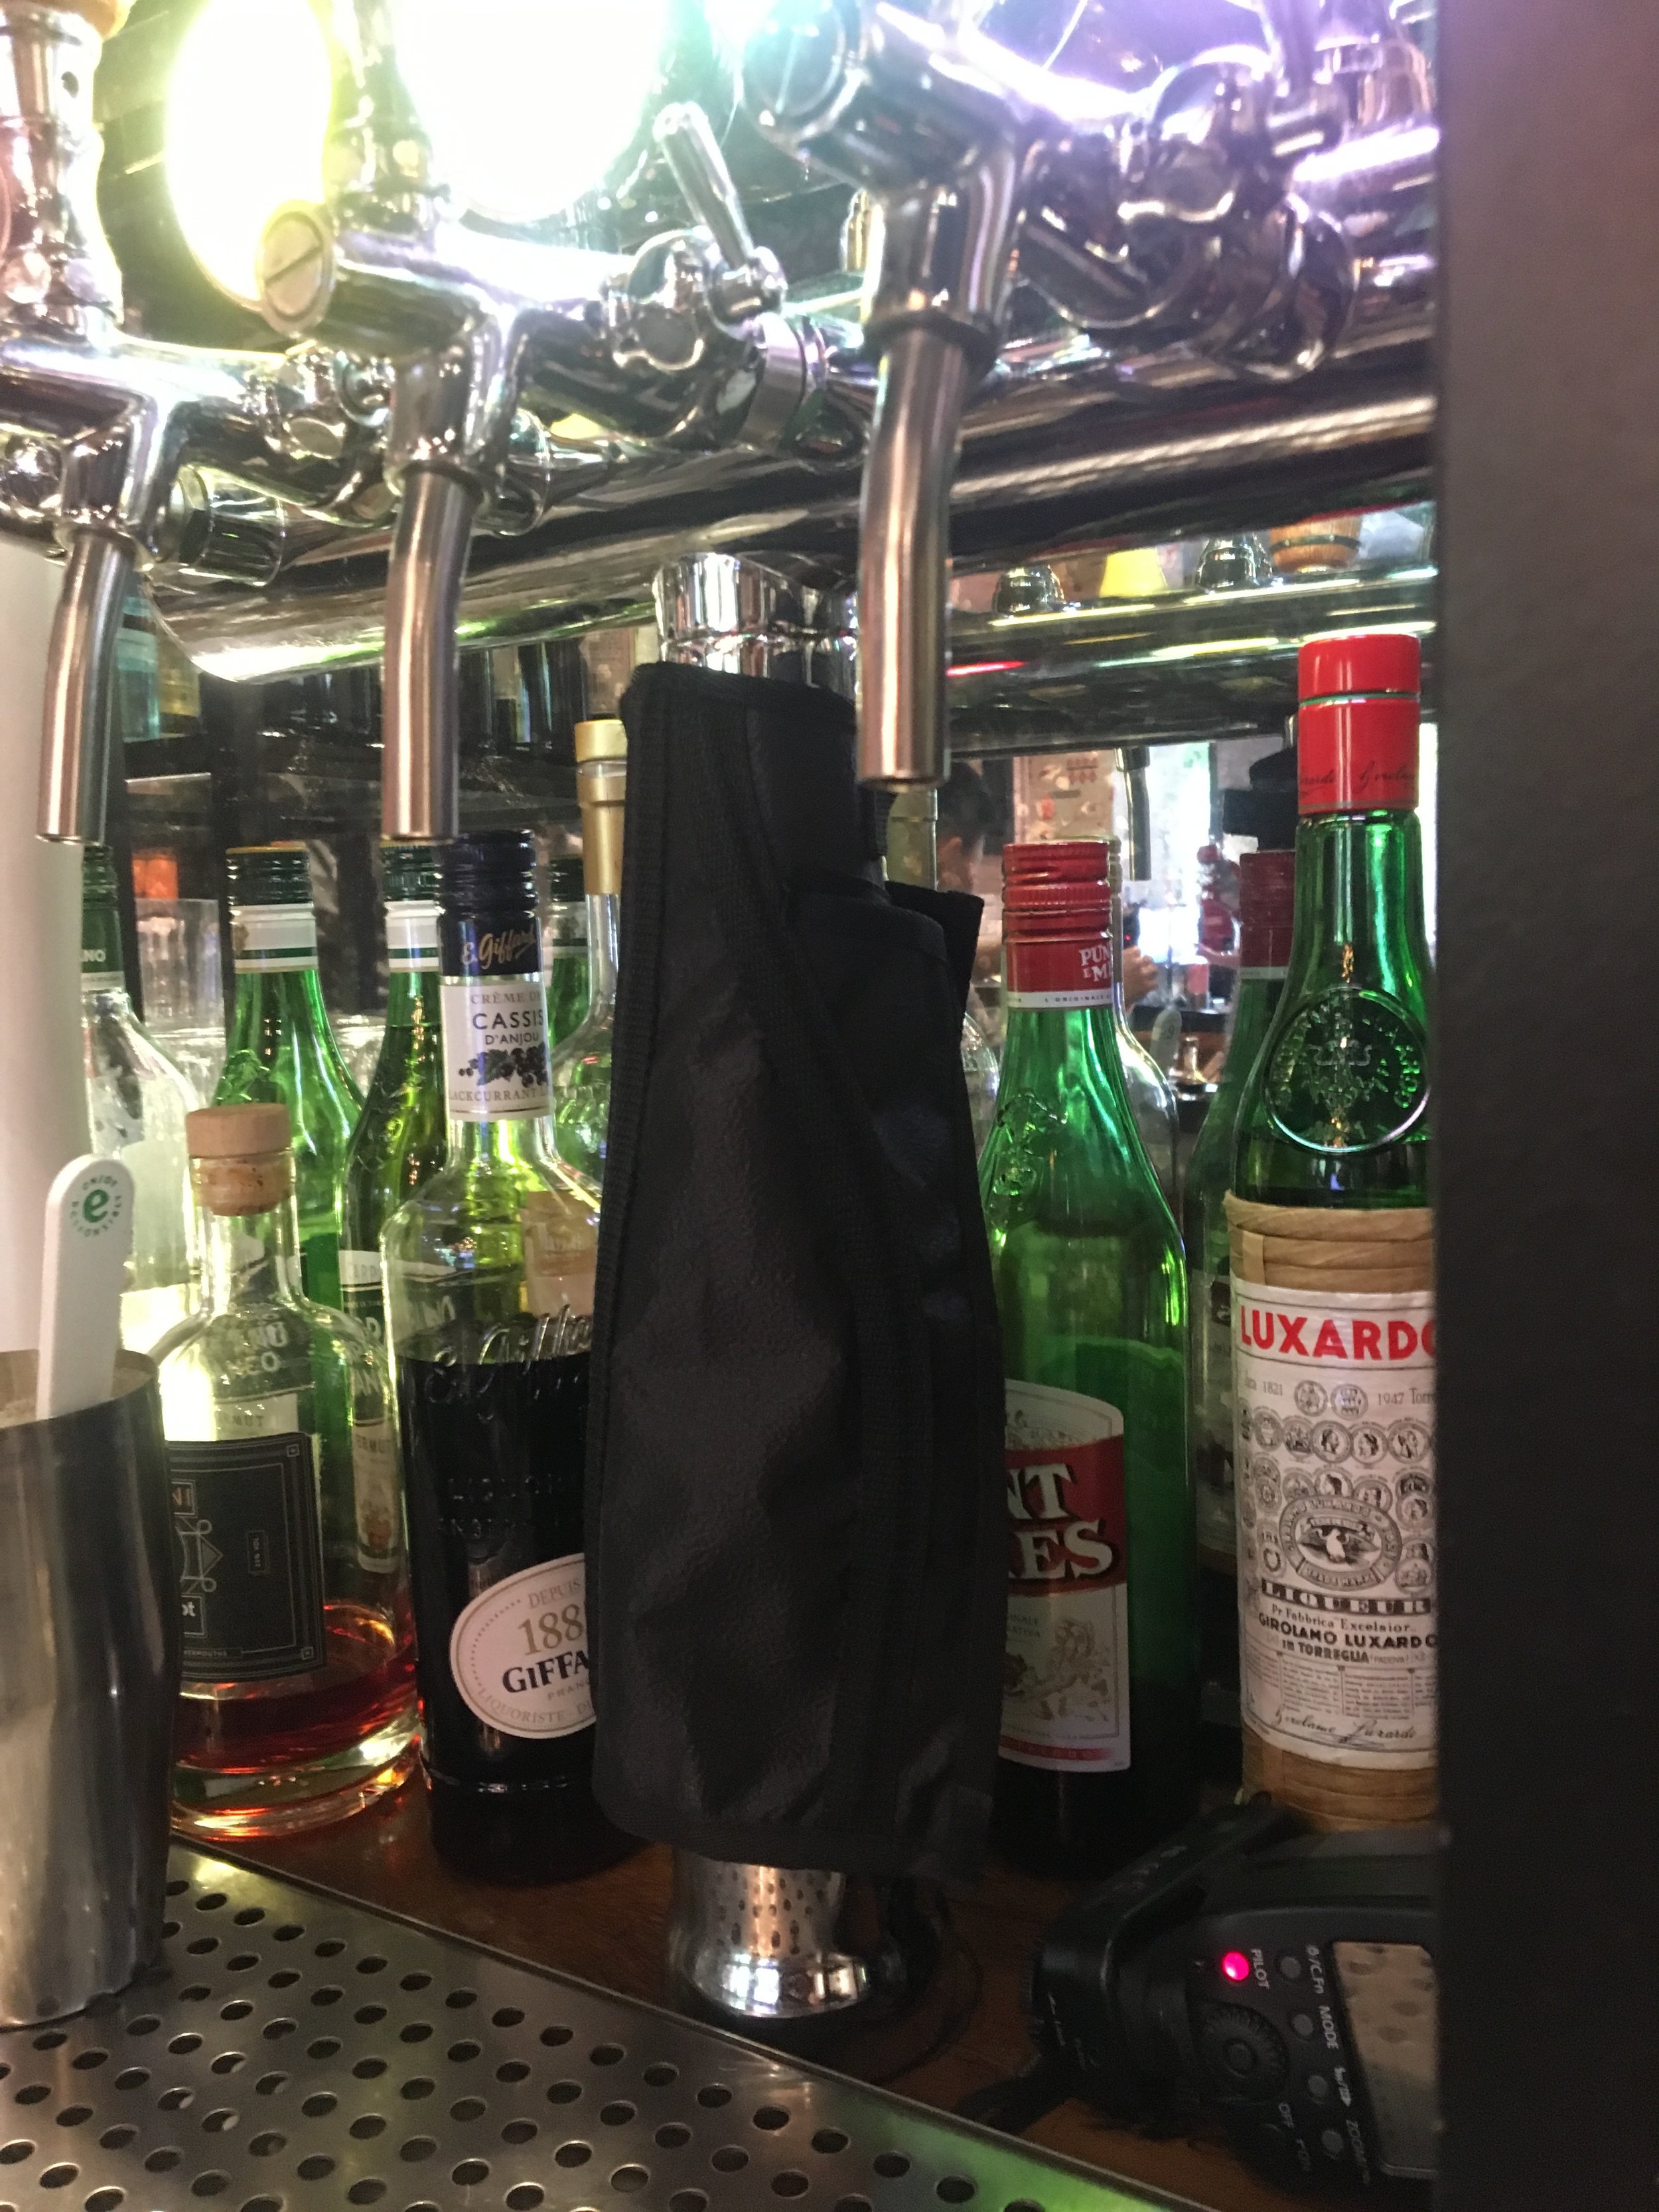
The issue to take this picture was that the composition is made with many different dishes and drinks and they don’t look fresh for too long. Something like the beer foam last less than 3 minutes, the fresh leaves and sauces start to look bad after 10 min and the bubbles from the aperol spritz last just seconds. All the items cannot get out of the kitchen at the same time, so the trick was to set the composition using empty dishes and glasses (as usual) and start to add the items and shot them one by one composing the final picture in postproduction in Photoshop.
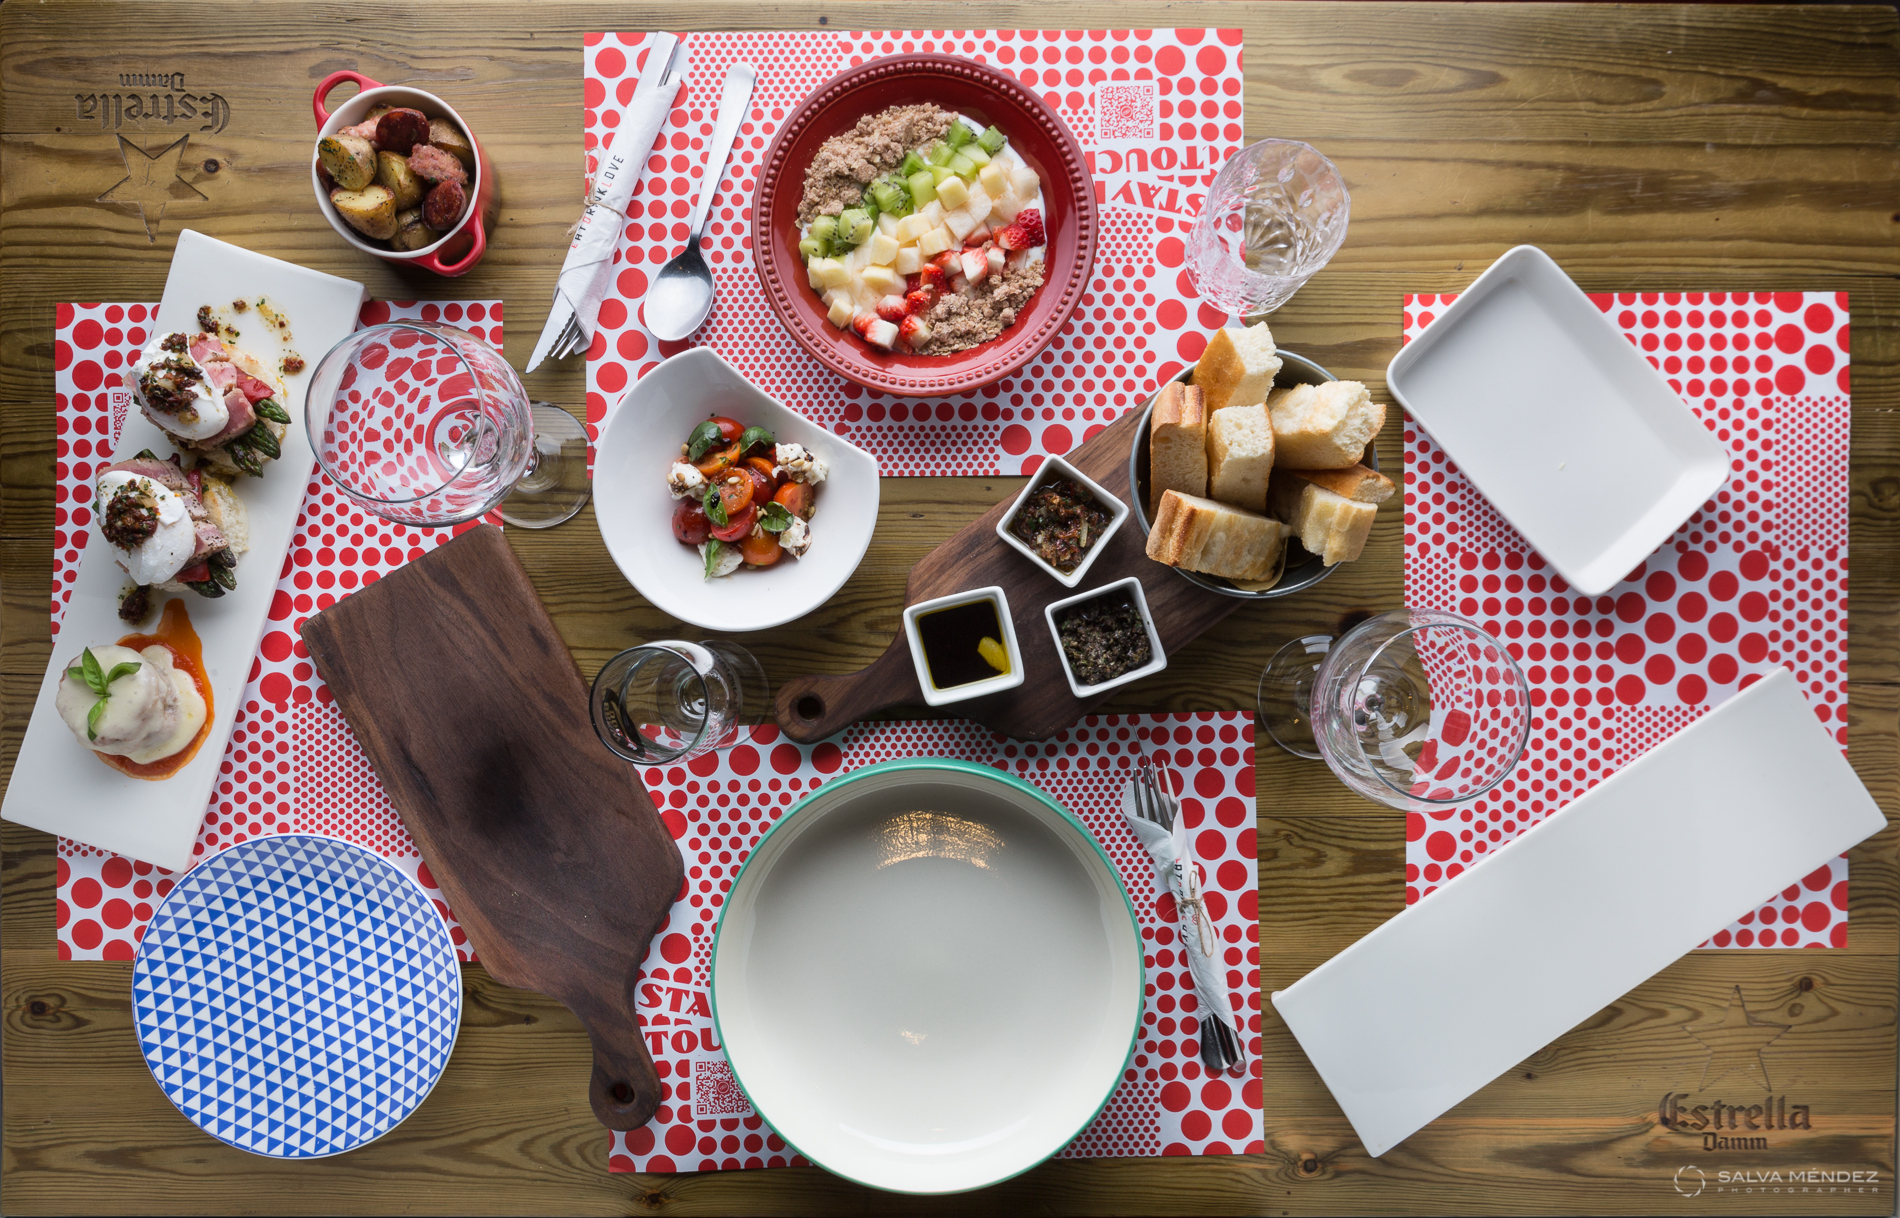
Final composition in process
In order to safe time in the editing it is crucial to don’t move anything during the shooting process. That’s why I use tape to fix the tripod to the table and some at the floor to advise people to don’t walk in.
For this overhead picture you have to pay special attention in the depth of field. I wanted everything on focus and sharp, but closing the aperture to the maximum reduces the image quality (distortions and sharpening problems in the edges because of the diffraction and chromatic aberration, all the photographers knows that the lens “sweet point” where the lens performs the best is in some point close to the middle aperture). So, like always, I used a laser meter plus the iPhone app called iDoF Calc to optimise the aperture (please check my post "My Equipment").
And if you have any question... Please ask me ;-)